


























































































































































































Lit from Within Makeup: A 5-Step Glow Routine
Lit from within makeup pairs moisturizer and optional glow with your choice of bare skin, tint or foundation, cream blush and targeted highlighter.
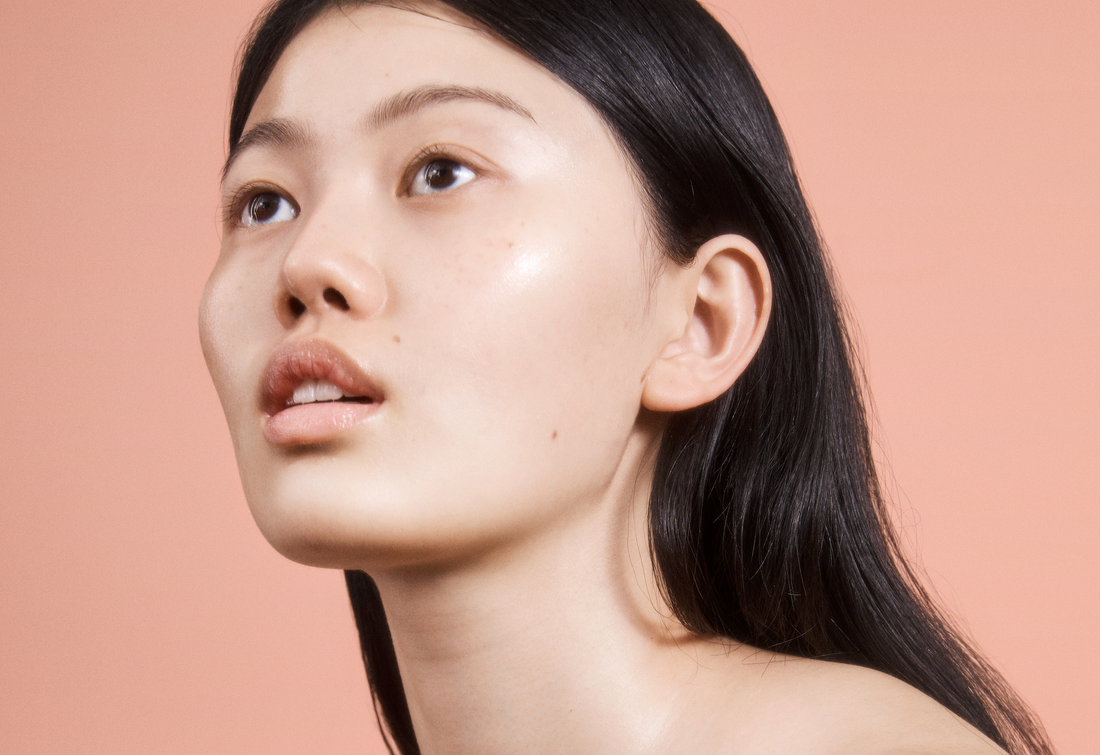
A five-step path to a soft, lit-from-within finish
- Prep with your usual moisturizer.
- Add one sheer glow layer if you want extra luminosity.
- Choose no base, a skin tint, or foundation to match your preferred coverage.
- Tap on cream blush for a fresh-looking flush.
- Finish with a little highlighter where you want light to catch.
A lit from within makeup look starts with a light glow layer, optional skin-like coverage, and color placed where you want it. If you want one product for targeted or all-over luminosity, our Glass Skin Luminizing Stick has a sheer, buildable formula that works on bare skin or under or over makeup.

Glass Skin Luminizing Stick
You can keep this to two or three steps. The five steps below are choices in an order, not a checklist to complete every day. Start with the finish you like, then add only the layers that make your makeup feel more like you.
1. Start with a soft sheen, not a stripe
A lit-from-within glow looks like light on skin, with the complexion still visible. In a British Vogue makeup artist guide, makeup artist advice favors layering textures for a healthy-looking glow; a single highlighter can look like a metallic stripe. For a softer result, choose a sheer sheen, apply a small amount, and blend its edges so the glow fades into your skin.
Visible sparkle and a smooth sheen create different effects. If you want the second, check how a product looks in ordinary daylight and start with less than you think you need. Add another thin layer only where you want more light, such as the upper cheekbones; that keeps the shine intentional instead of spreading it evenly across the face.
If you enjoy layering textures, makeup artist Dom Skinner suggests a sheer highlighter first, a more wet-looking layer next, and then transparent balm patted over the top. His other finish cue is a finely milled formula with minimal shimmer for a less metallic look.
2. Prep first, then choose one glow layer
In Glamour’s makeup-order guide, makeup artist Lisa Potter-Dixon recommends applying moisturizer about 10 minutes before makeup so it has time to settle. Potter-Dixon also says makeup may sit less well, last less long, and look less good on skin without moisturizer.
Next, decide whether you want a separate glow layer. For one product-specific example, e.l.f.’s Halo Glow Liquid Filter guide describes a glow booster with color that can be worn alone, under foundation, or mixed with foundation for a sheer, radiant finish.
Mixing a liquid illuminator into foundation spreads its glow across the area where you apply the base. Keep the illuminator separate and tap it on after foundation when you want radiance concentrated on chosen areas.
You can skip this layer when your moisturizer leaves enough natural-looking sheen or when your highlighter will provide all the glow you want. Keeping one main source of radiance makes the result easy to adjust. If your complexion begins to look wet or overly reflective, use less product on the next application and keep the luminosity to the high points of your face.
3. Choose coverage that still lets the glow show
Bare skin, skin tint, and foundation each work for a glowy makeup look, depending on how much coverage you want. In e.l.f.’s skin tint and foundation guide, skin tints are lightweight and sheer, letting natural skin show through, while foundation offers more pigment and buildable coverage for a fuller-looking base.
The same guide describes luminous foundation for a dewy finish, with matte and satin finishes as alternatives, so choose the base finish you want and the amount of coverage that suits you.
For a barely-there look, try your glow layer alone or use a small amount of tint where you want the tone to look more even. For more coverage, apply foundation in a thin layer and add only where you want it. If you plan to tap a cream product on top, keep the base layer smooth and let it settle; that makes it easier to add color without shifting the complexion underneath.
4. Tap on cream blush for a natural-looking flush
Cream blush brings a soft flush into the same fresh-looking finish. In L’Oréal Paris’s blush application guide, the brand recommends placing blush on the apples of your cheeks and blending upward and outward. L’Oréal Paris also advises matching blush and base textures, such as cream over cream, for a smooth application.
Use your fingers or a sponge to press on a small amount, then build gradually until the color is easy to see. Tapping lets you place the blush without dragging it across your base. If you have set an area with powder, apply cream blush before powder when possible; L’Oréal Paris notes that cream blush over powder can drag, clump, or disturb the makeup underneath.
Keep blush on the cheek area and reserve your highlighter for the spots where you want a stronger glint. The two products have different jobs: blush adds visible color, while highlighter draws attention to selected high points.
5. Finish with a targeted or all-over highlight
Use highlighter last when you want a small, controlled touch over your makeup. For a simple placement, tap a little along the highest part of each cheekbone and blend the edges. Charlotte Tilbury’s highlighter placement guide suggests starting at the high point of the cheeks and sweeping in a C shape along the cheekbone toward the temples; shorten that curve to keep the glow focused.
Charlotte Tilbury’s guide also suggests highlighting the brow bone to emphasize its shape, the inner corners of the eyes for a brighter-looking effect, and the Cupid’s bow to enhance the natural lip line. Choose one of these details when you want a focal point beyond the cheeks.
Its sheer, buildable formula glides onto bare skin or layers under or over makeup, and it is positioned for targeted or all-over luminosity.
For a focused effect, place the stick on the upper cheekbones, then tap the product with your fingertips to soften the edges. For a broader glow, apply a thin veil to the areas where you want luminosity, then blend until the sheen looks even. Because the formula builds, you can add another pass to a small area instead of starting with a heavy layer.
FAQS
FAQ
How to make skin look glow with makeup?
Start with moisturized skin, add one sheer glow layer if you want it, then choose the coverage and color that suit your look. Tap highlighter onto the high points of the cheeks for a focused gleam, or use a sheer, buildable formula more broadly for all-over luminosity.
Do I need all five steps?
No. Moisturizer and one glow product can be enough; add tint, foundation, or blush when you want more coverage or color.
Glass Skin Luminizing Stick
See how these criteria hold up on the real thing.